Hello for our 2nd blog post!
Love@chalilofee has on her blog boho-love.com built a new dining table and we were very happy that our legs were used. Nice as it is, we now have permission to publish this blog with us so that this great DIY project can inspire even more people.
So that we don't tell you any further around the hot porridge!
// @chalilofee From your blog boho-love.com
With the DIY dining table made of wood, I have fulfilled a long -awaited dream myself. Of course you can also buy or have such a table, but that was simply too expensive for me and since I think that many of you could do it, I wanted to share all my tips, experiences and instructions with you here. Because even if it is actually quite simple to make this table, there are some things that you can do wrong (as I have noticed *haha *) ...

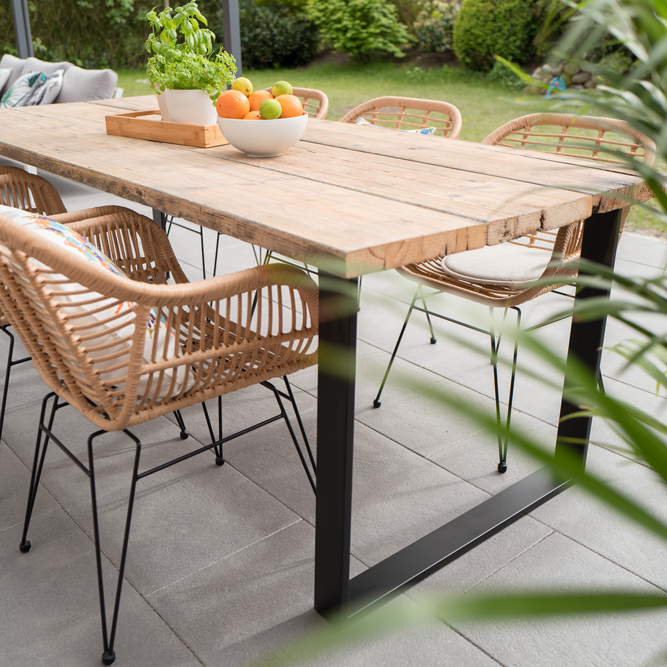
First of all, you have to ask yourself how big your table should be, because then you select the length of the table top. If you want a 6-8 seating area like me, then you need the table top in 180cm-200cm (mine is 200cm), with a 4-6 seat table it would be 120-140cm. The width depends on your taste, some like it wider, others narrower, whereby I find my table with 82cm width really optimal (but also comes to the wood you want to use).
Shopping list hardware store: DIY dining table made of wood
- Cover (to protect the other furniture from sawdust)
- Construction floorboards For the table top (in my case there were 3 very wide boards and I had them cut to my dimensions directly in the Bauhaus - just ask nice 🙂 My first tip: Be sure to take the remnants of the cut so that the future table color can be tested later)
- Narrow wooden boards (To attach the table top at the end. The dimensions etc. depend on your table size, the best way to put everything in the Bauhaus is on the ground and let yourself be cut directly - then cut them directly - Tip: In any case, let some of the edges see some space as in the photo below)
- Wood screws (To attach the table top. Tip: The screws must not be longer than the two boards that you want to screw together)
- Sandpaper for wood (from rough to fine) and grinding machine (Tip: In any case, take a grinding machine, otherwise it will just take forever until you finish. In addition, I would also recommend a corner grinding machine for a normal grinding machine, as you can use it to make the edges, the transitions and the “natural cracks” in the wood - maybe you can also borrow the two in the hardware store or similar)
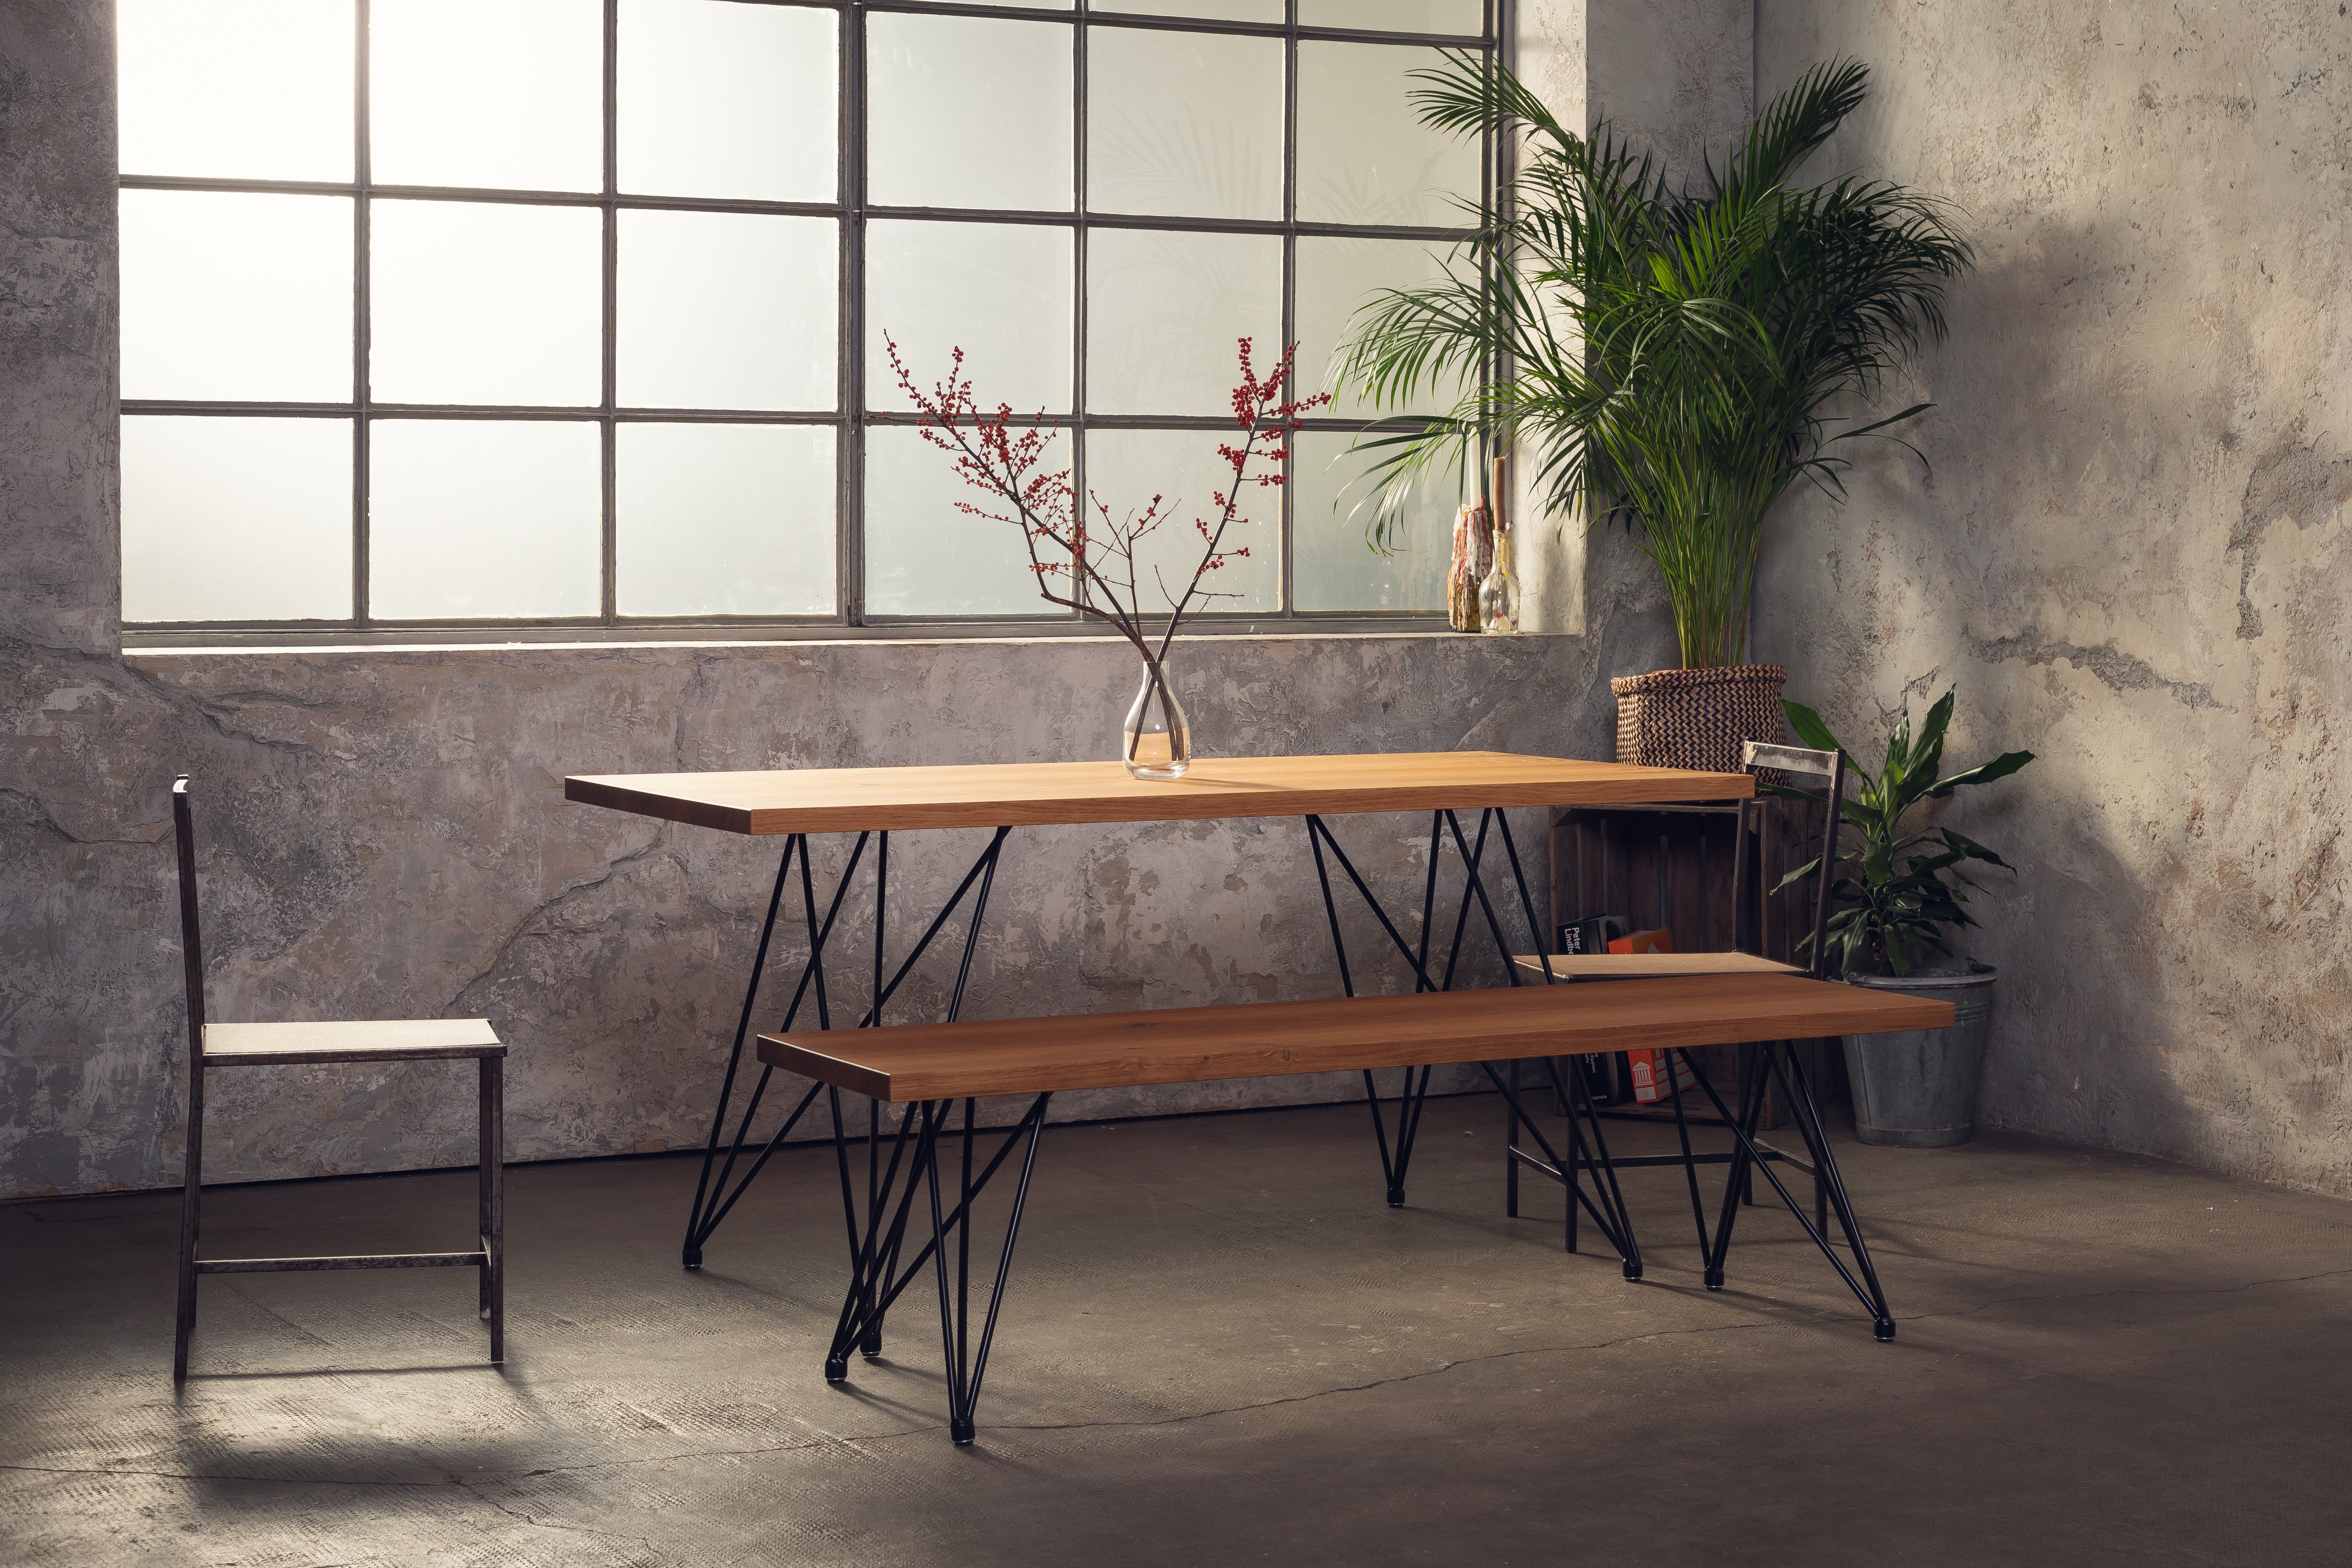
- Hairpin table legs (I think the table legs are the most important thing about a beautiful dining table, right? My advice: Be sure to order the table legs on the Internet Natural Goods Berlin They are really awesome and, above all, they are also available in super many colors and shapes ... just have a look there - by the way, it is also possible via Amazon).
- (And of course a cordless screwdriver to attach the screws)
- Addition directly from the Natural Goods Berlin Team: If you want to protect your floor, we have Lake saver for Hairpin Legs
The assembly of the DIY dining table
Step 1: Briefly grind the underside table tops, here it is enough to grind roughly.
Step 2: Put the table tops together and connect with the small woods. My advice: First of all, all the small woods and the future table legs “test trims” before screwing on the first record.


Step 3: Screw the table legs (the screws were part of the table legs from Natural Goods Berlin included) 🙂

Step 4: Turn the table over and grind the table top at the top and on the sides. My advice: To give the table a little shape, structure or "used look", you can also let off steam a little with the corner grinding machine, a planer or the like at the table 😉

Now color comes into play
And that is the part that I am desperate, that doesn't believe you *haha *. My original thought was that I found the natural wood color so nice that I only wanted to make it a little more “robust” against dirt, since it was a dining table after all. With this, fate took its course ...
After I then put a neutral finishing wax on it and saw that it was very “yellowish” afterwards, I preferred to do something else about it, but let yourself be said! After two layers of wax, you don't do anything about it so quickly * aaaaaawww *: d. 1000 packages sandpaper and 500 oil, wax, glaze paint later, I finally have a color that fits my ideas and my furniture. Here is also a huge thank you to the very best, patient and most helpful OBI employee of the year - if you read this here, thank you for everything *haha *.
But for you my well comes here Most important tip of the day! Be sure to take one of the remnants of your floorboards and really test the color of your choice beforehand! The colors work differently on every wood and a wrong coat of paint can really cost a lot of time, money and effort!
My absolute favorite at the end was that Antique wax from Liberon which I ordered on Ebay. However, in the end I applied it over two layers of “beech glaze” and of course I don't know what it would have looked like without them, but I think just as well 🙂
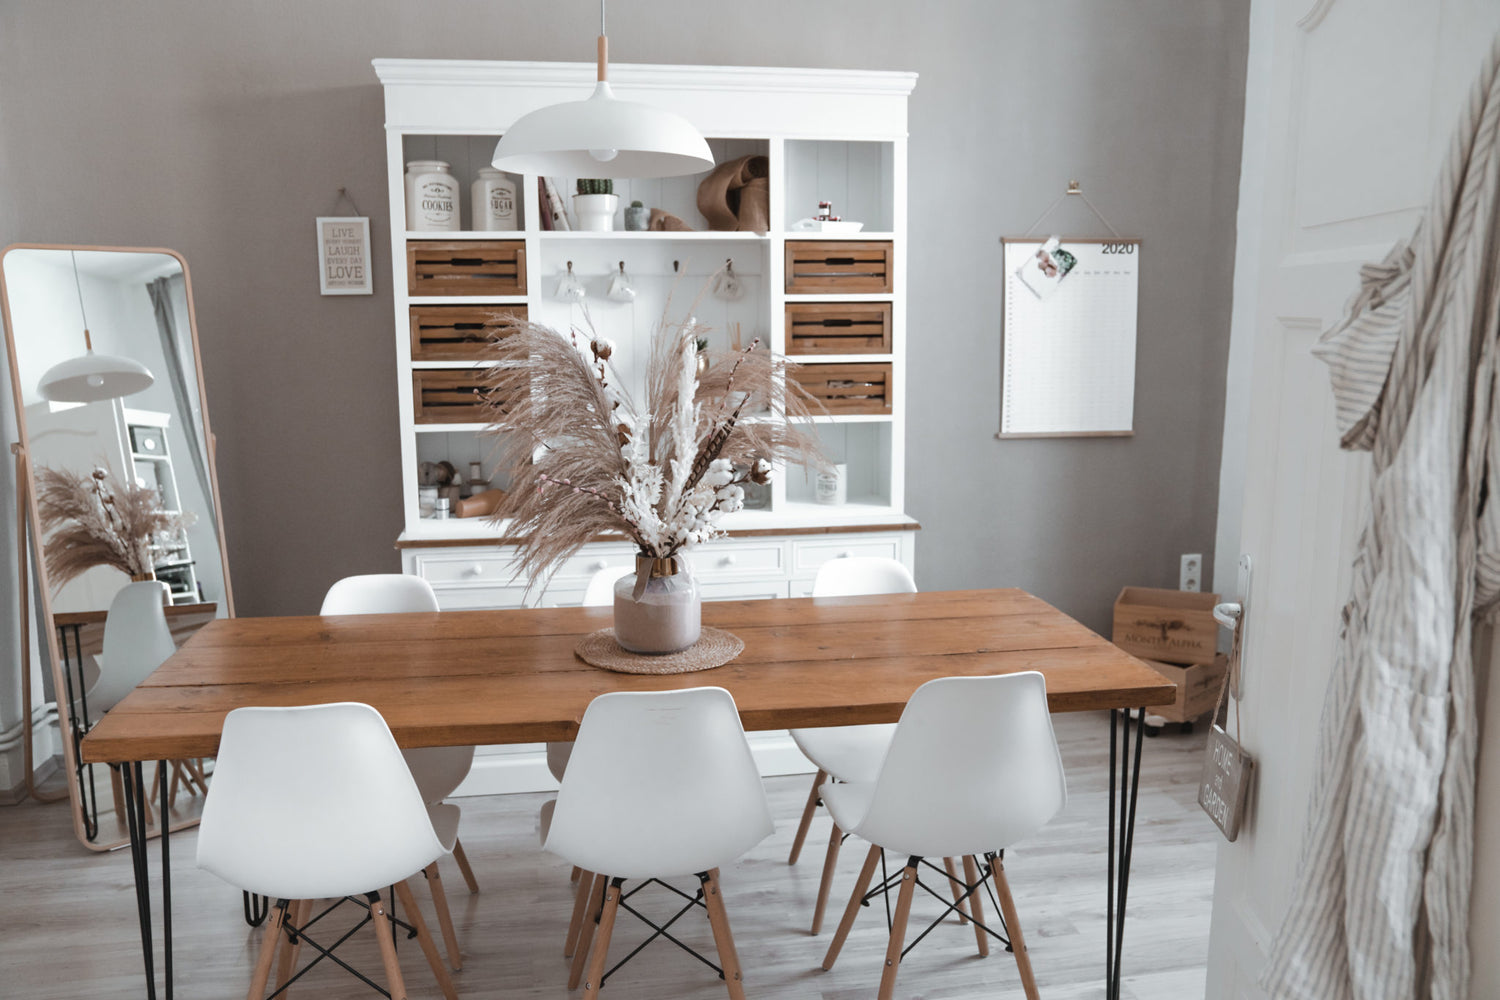
The result of the DIY dining table


And here you can see all my pride! Really I love love love this table and it has at least a value of 800 euros, but I only paid about 250 euros. The nice thing is also, if something is supposed to be, I can grind it at any time and grow over it again and he shines again 🙂
If you have got a taste and would like to know something, then I would be happy to leave me a comment at any time so that we can chat about it and then I would be delighted with your experience reports 🙂
Have fun and see you soon
Your Chalilofee


Leave a comment
This site is protected by hCaptcha and the hCaptcha Privacy Policy and Terms of Service apply.