Mari & Dani aka @mada.casa Have had a simple DIY project for this summer season. With just a few steps and some material, a really beautiful terrace table was created that is impressive. Our weird table legs, Standard Legs, Fix very harmoniously.
You can simply recreate this table ...

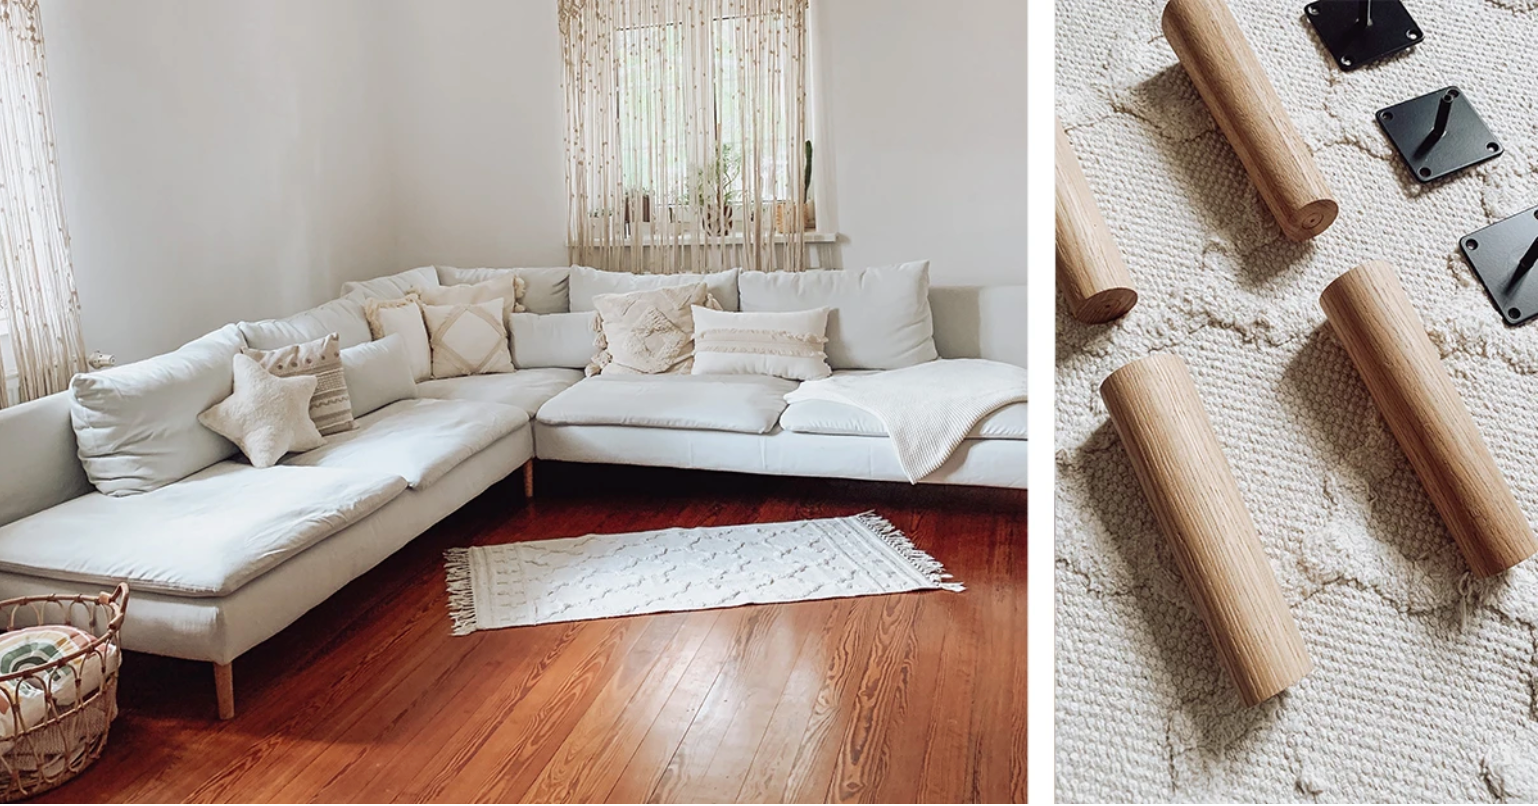
... with 4 wooden planks, 4 table legs, 16 screws, 2 flat steel iron, glaze, some time and nice weather.
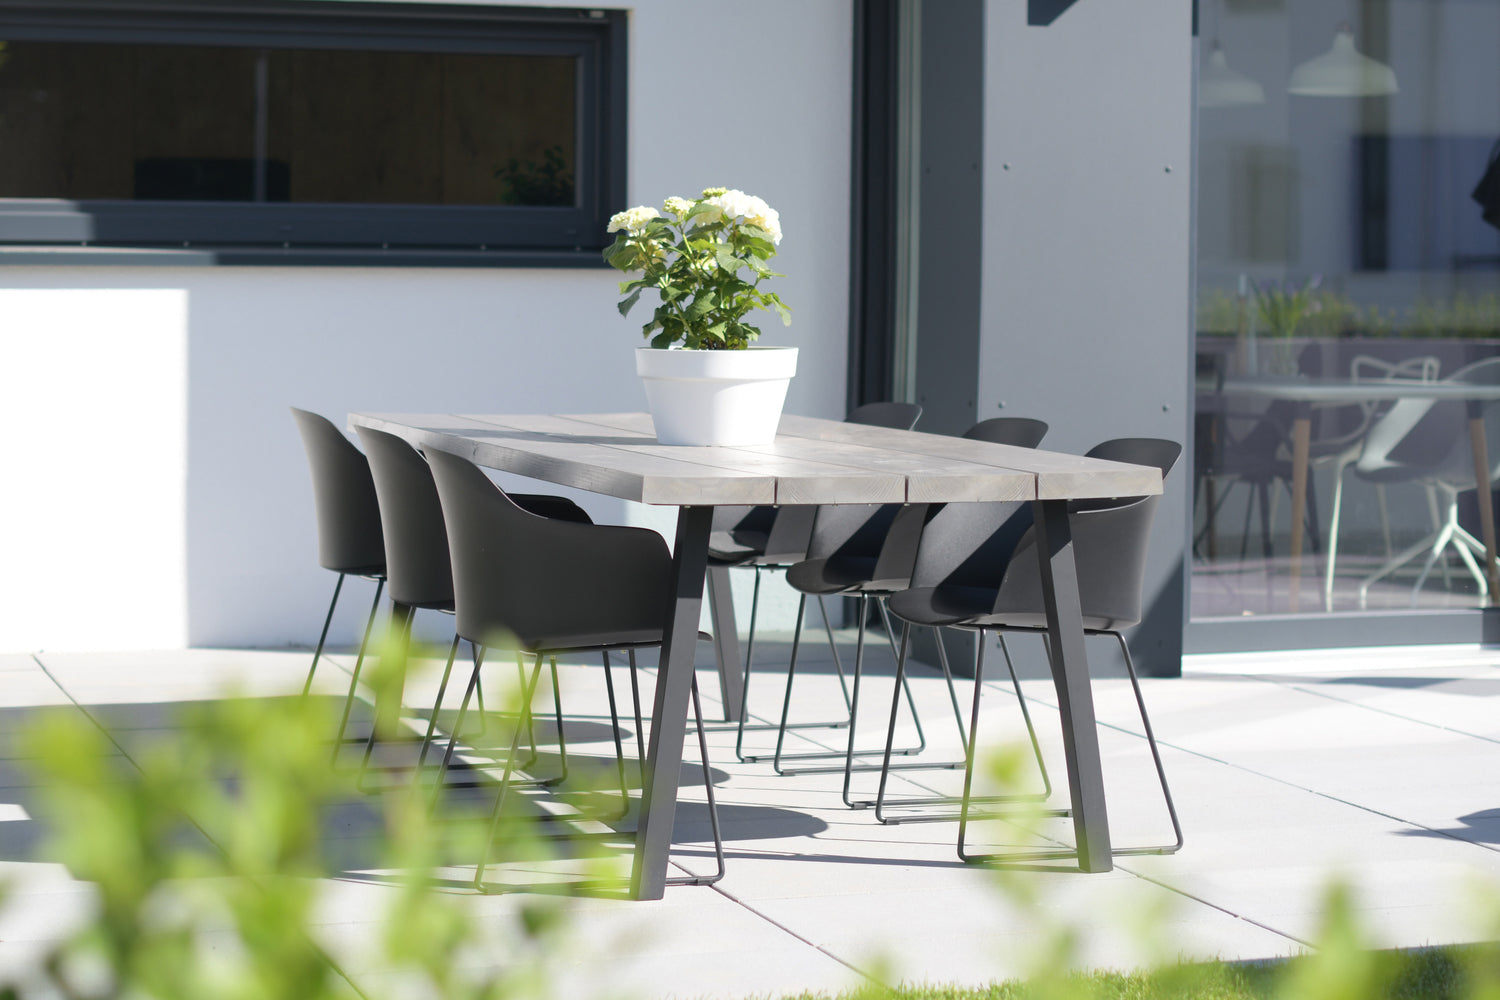
Untreated planes with a length of 250 cm and a width of 25 cm have been used here. This creates a garden table in the size of 250 × 105 cm, which offers plenty of space for friends and family as well as food and drinks.
The length and width of the boards are variable. You can also choose smaller wooden slats. It is also dependent on your location.
Brief overview of what is needed:
- 4 wooden planks (building floorboards, old planks or from the new hardware store)
- 4 table legs (here Standard leg oblique by Natural Goods Berlin)
- 16 screws (right away from Natural Goods Berlin, Plug screws. Tip: screws should not be longer than the wood is thick)
- 2 flat steel iron (is available in the local hardware store, is a nice alternative to the wood substructure. Ideally, assembly holes are pre -drilled)
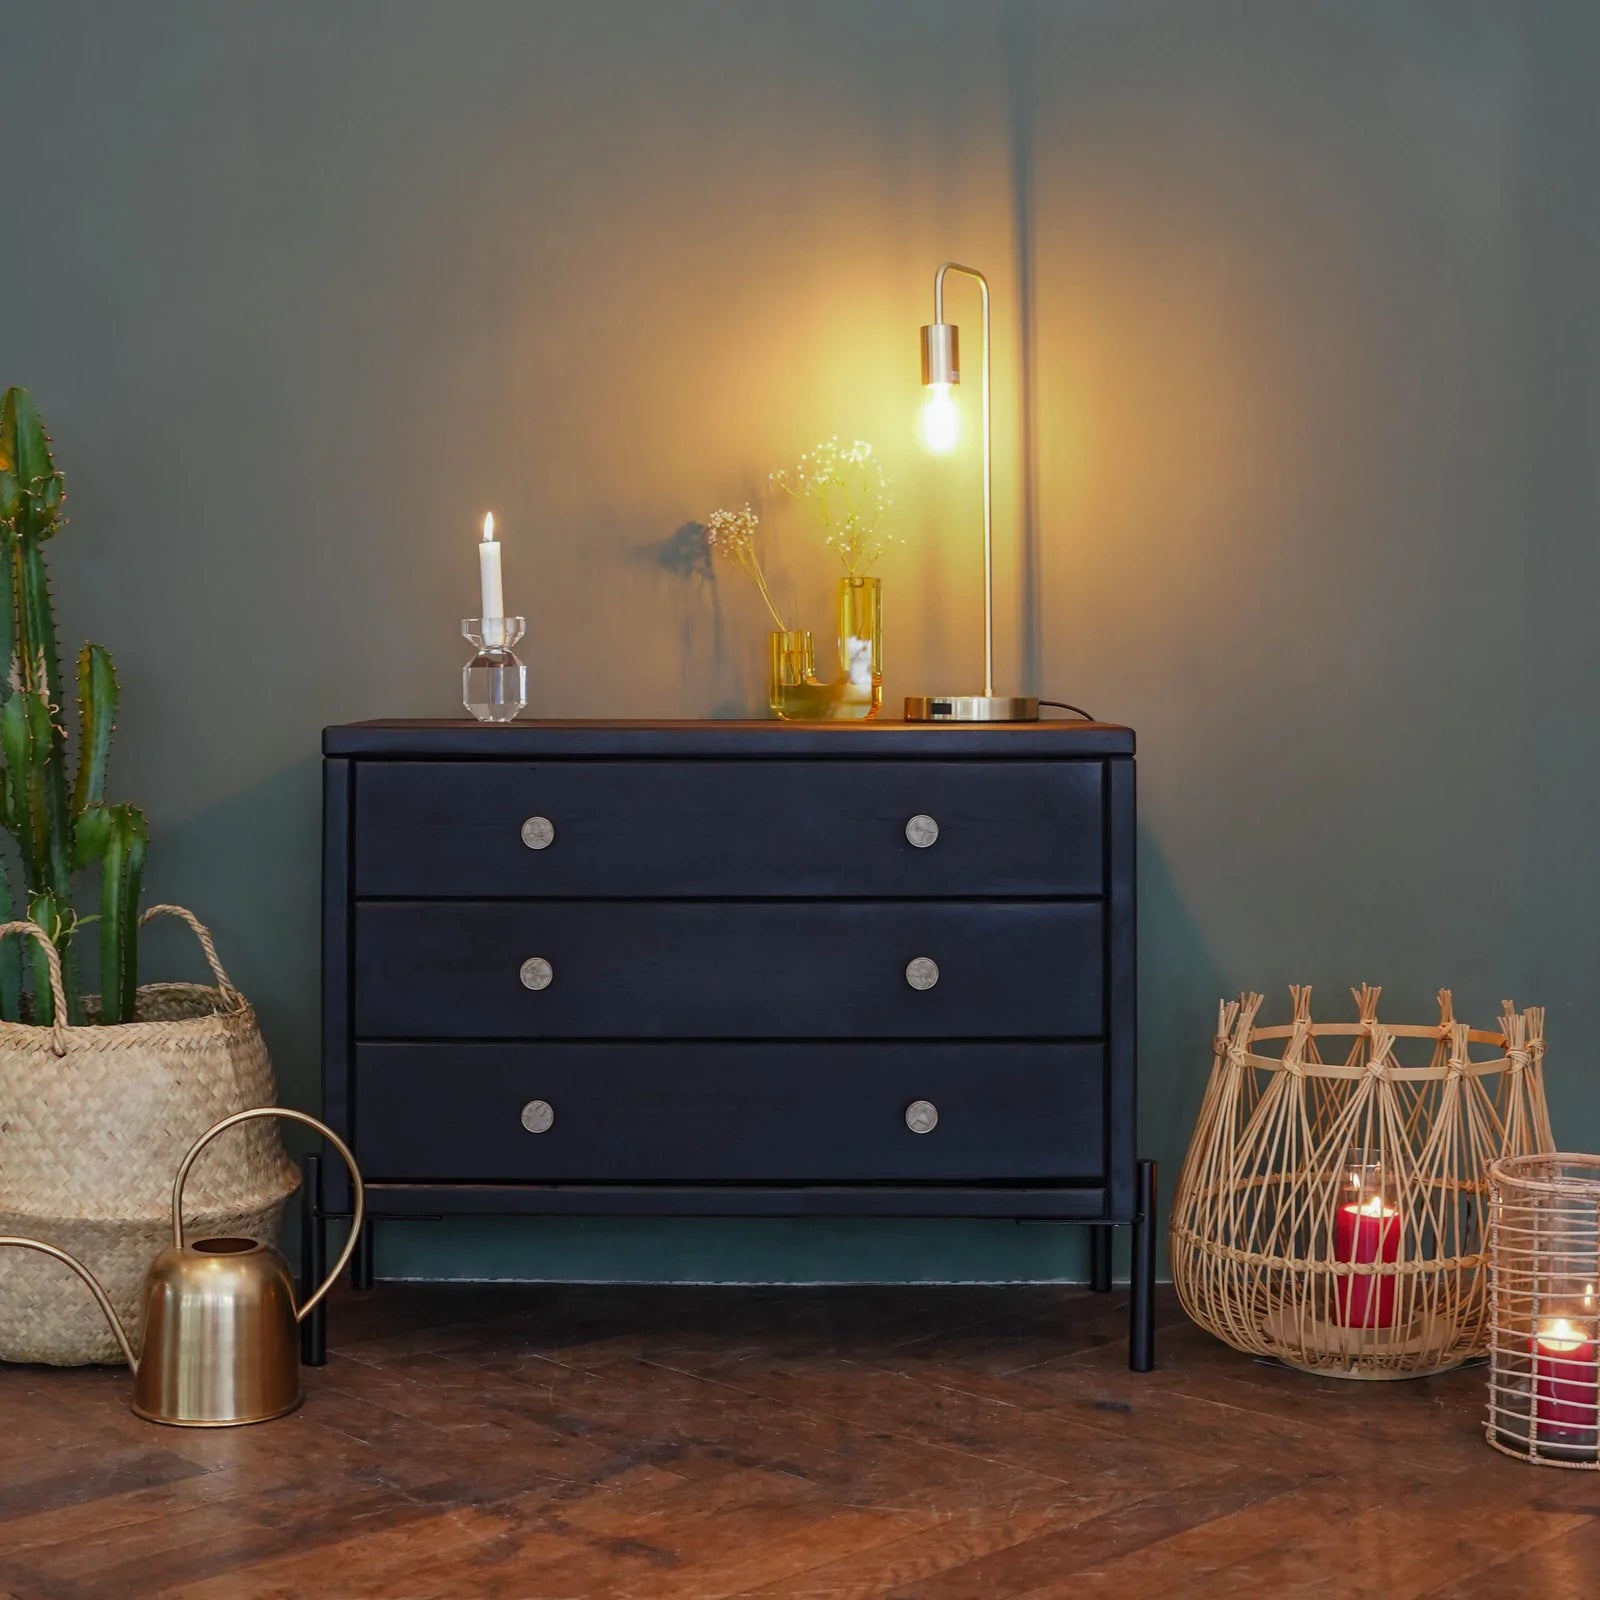
- Wood glaze (set color accents or the table top on the ambience)
- Working material (sandpaper, brush, screwdriver, battery ear, wooden drill set, metal saw or separator))
Step 1: Make weatherproof

So that you enjoy the table for a long time, it should be edited with a weatherproof glaze. The wood does not weather and is protected from the sun and water.
Decide on a color of your choice, ideally matching the surroundings. Let the glaze take effect, this can take up to 48h depending on the manufacturer, please note the corresponding instructions. Depending on the nature of the wood, the slats may have to be glazed several times.
The legs are powder -coated and therefore weather -resistant. So that this coating is not damaged, soil saucers are recommended.
Step 2: The assembly the table top

A substructure is needed so that the planks of the table top are not wiggling and the table is stable. Flat steel was used here as a connector.
For the same distance between the individual slats you can take joint crosses. They can be removed quickly and quickly afterwards.
Now decide which side of the wooden planks the table top forms and put it down.
Now you can screw the flat steel on the underside of the table and set the position of the table legs, 8 - 10 cm from the edge of the table is a good choice.


So that wood is spared, the pre -drilling of the drill holes is recommended. The planks do not tear in when screwing and the screw can simply be sunk. Hold your legs and draw the holes. Then you can easily be drilled.

Step 3: screw on and set up legs
Remove the joint crosses and attach all table legs with the Senk head wooden screws. Put the table on your feet and let the summer become a party with family or friends.
This table can also be built with other table legs or table runners, depending on the style, have a look in our shop and be inspired.
Have fun recovery.
Share your DIY project and be an inspiration for others.
@naturalgoodsberlin


Leave a comment
This site is protected by hCaptcha and the hCaptcha Privacy Policy and Terms of Service apply.